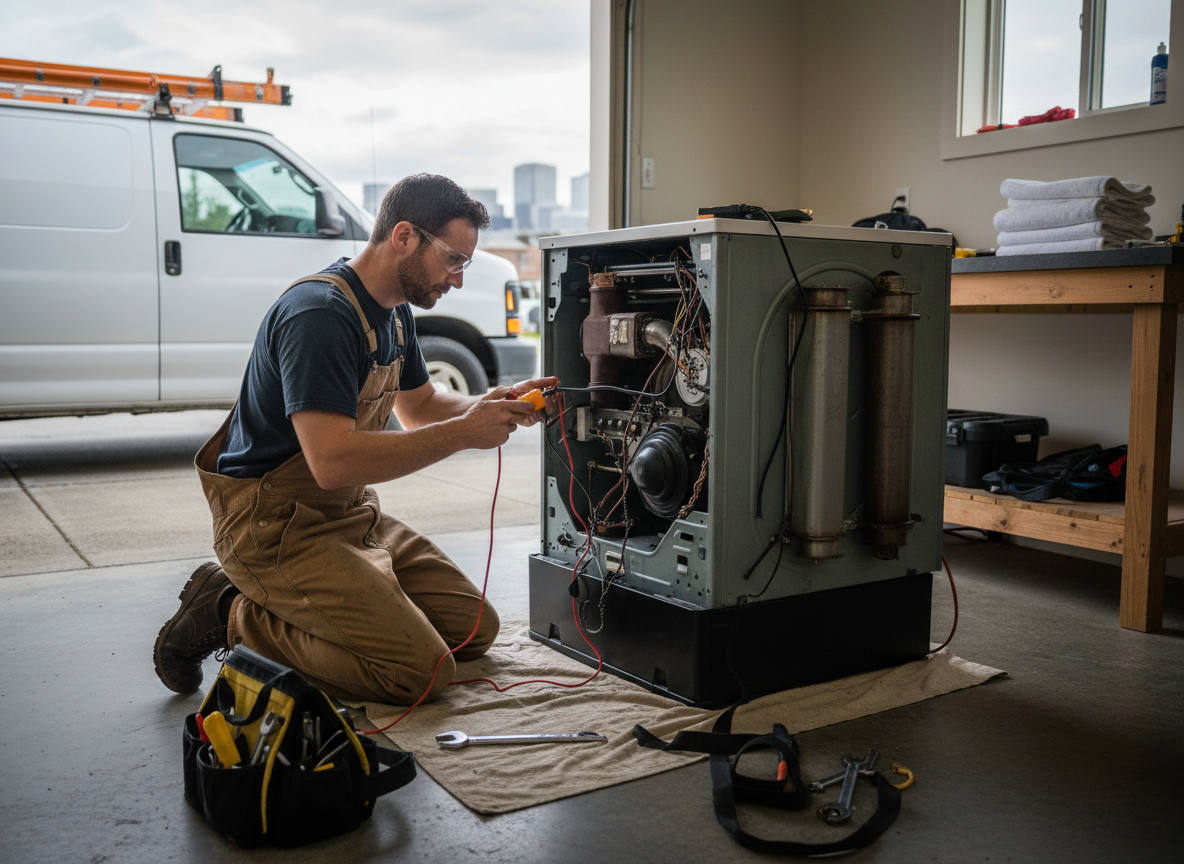
Gas dryer repair starts with a step-by-step diagnosis that checks power supply, gas flow, and airflow before any parts are touched. Common failure symptoms include no heat, clothes remaining damp after long cycles, clicking sounds without ignition, or the unit shutting down mid-cycle. Technicians test the igniter, gas valve, thermal fuse, flame sensor, and high-limit thermostat to identify the exact cause rather than guessing.
Repair-versus-replace decisions rest on the age of the dryer, the cost of multiple failing parts, and whether the cabinet and drum are still in good shape. Customers should prepare by clearing space around the dryer, noting any error codes or recent changes in performance, and having the model number ready so the right components can be confirmed before work begins.
What Homeowners Should Prepare
Move laundry baskets and any stored items away from the dryer so the back and sides are accessible. Shut off the gas supply valve if you are comfortable doing so, and keep the user manual or model sticker visible. Write down when the problem started and whether it happens every load or only with certain settings.
Technician insight
In Spokane the thing that catches most people out with Gas Dryer Repair is older homes with long, narrow vent runs that trap lint faster in our dry winters; homeowners often think the problem is the igniter when the vent is actually the root cause.
No-Heat Call on the South Hill
The gas dryer would run but never produce heat. Testing showed a failed igniter and a partially blocked exterior vent elbow. The igniter was replaced and the vent cleared. The dryer now heats on the first attempt and finishes loads in normal time.
Gas Dryer Repair Services We Offer
✓Igniter Replacement
Swaps out worn igniters that no longer glow hot enough to light the gas, restoring consistent heat without repeated failed starts.
✓Gas Valve Testing and Repair
Checks coil resistance and gas flow through the valve assembly to correct intermittent heating or complete failure to ignite.
✓Thermal Fuse and Thermostat Replacement
Replaces safety fuses and thermostats that trip from overheating, preventing the dryer from running until the root airflow issue is also addressed.
✓Flame Sensor Cleaning and Testing
Removes carbon buildup on the sensor so it accurately detects flame presence and allows the gas valve to stay open during the cycle.
✓Exhaust Vent Inspection and Clearing
Removes lint and debris from the vent line to improve airflow, reduce drying times, and lower the risk of overheating.
✓Drum Roller and Belt Inspection
Examines rollers and the drive belt for wear that causes squealing or slow tumbling, then replaces parts that no longer turn smoothly.
How it works
- 1
Symptom Review and Initial Checks
We ask about the exact symptoms, listen for unusual sounds, and verify basic power and gas supply before opening the unit.
- 2
Component Testing
Each suspect part is tested with a multimeter or visual inspection to confirm which one has failed.
- 3
Repair Options Explained
We outline the cost and expected life of repairing the current issue versus replacing the dryer, then proceed only with your approval.
- 4
Final Verification
After repairs we run a full cycle, confirm heat output and airflow, and show you the replaced parts.
Pricing
Final cost depends on which parts need replacement and how accessible the dryer is in the home.